IoT101 Lesson1 WOL Wake-Up
Getting Started with ESP IoT Development: WOL Wake-Up
In the previous article, we installed a “physical finger” on the computer to press the power button. It works reliably, but it still doesn’t feel very high-tech. If your motherboard supports it, there’s actually a more “hacker-style” method — Wake on LAN (WOL).
Simply put, you send a secret signal to the network card, and it wakes up the entire computer by itself.
1. What Is a “Magic Packet”?
Even after a computer is powered off, as long as the power cable isn’t unplugged, the network card is actually still quietly on duty.
It’s waiting for a specific data packet called a Magic Packet.
The structure of this packet is quite unusual: six 0xFF bytes followed by your network card’s MAC address repeated 16 times. Once the network card detects this pattern on the local network, it instantly triggers the system to power on.
2. The Three Checks Before You Start
Don’t rush to flash the code. The biggest pitfalls of WOL are usually configuration issues:
- BIOS Permission:
Repeatedly press F10 during boot (depending on the computer — mine uses F10) to enter BIOS. Set options likeWake on LANorPower On by PCI-EtoEnabled. - Network Adapter Permission:
In Windows Device Manager, find your network adapter. In its properties under Power Management, make sure “Allow this device to wake the computer” is checked. - Ethernet Cable Required:
On most motherboards, the built-in WiFi shuts down when the computer powers off. Therefore, the computer being woken up must be connected with an Ethernet cable (the ESP32 can still send the packet via WiFi). - Of course, some wireless adapters support WoWLAN, but the results are often… questionable.
3. The Ultimate Combined Code
This code not only sends the WOL packet but also keeps the servo control from the previous chapter. Using two buttons in the Blinker app, you can freely choose how to power on your computer.
C++
#define BLINKER_WIFI
#include <Blinker.h>
#include <Servo.h>
#include <WiFiUdp.h>
// Fill in your credentials
char auth[] = "Your Blinker Secret Key";
char ssid[] = "Your WiFi name";
char pswd[] = "Your WiFi password";
Servo myServo;
WiFiUDP udp;
// ===== Configuration Area =====
byte mac[6] = {0x24,0xFB,0xE3,0x61,0x7A,0x37}; // Computer MAC address
IPAddress broadcastIp(192,168,1,255); // Local network broadcast address
int wolPort = 9;
// Define buttons in the app
BlinkerButton ButtonServo("btn-boot"); // Servo button
BlinkerButton ButtonWOL("btn-wol"); // WOL button
// ===== Magic packet sending logic =====
void sendWOL() {
byte magicPacket[102];
// Fill with 6 bytes of 0xFF
for(int i=0; i<6; i++) magicPacket[i] = 0xFF;
// Repeat MAC address 16 times
for(int i=1; i<=16; i++) memcpy(&magicPacket[i*6], mac, 6);
udp.beginPacket(broadcastIp, wolPort);
udp.write(magicPacket, 102);
udp.endPacket();
Serial.println("Magic packet sent!");
}
// ===== Button callback: network wake-up =====
void wol_callback(const String & state) {
Serial.println("Received WOL command");
sendWOL();
}
// ===== Button callback: physical servo =====
void servo_callback(const String & state) {
Serial.println("Received servo command");
myServo.write(60); // Press down
Blinker.delay(500);
myServo.write(0); // Release
}
void setup() {
Serial.begin(115200);
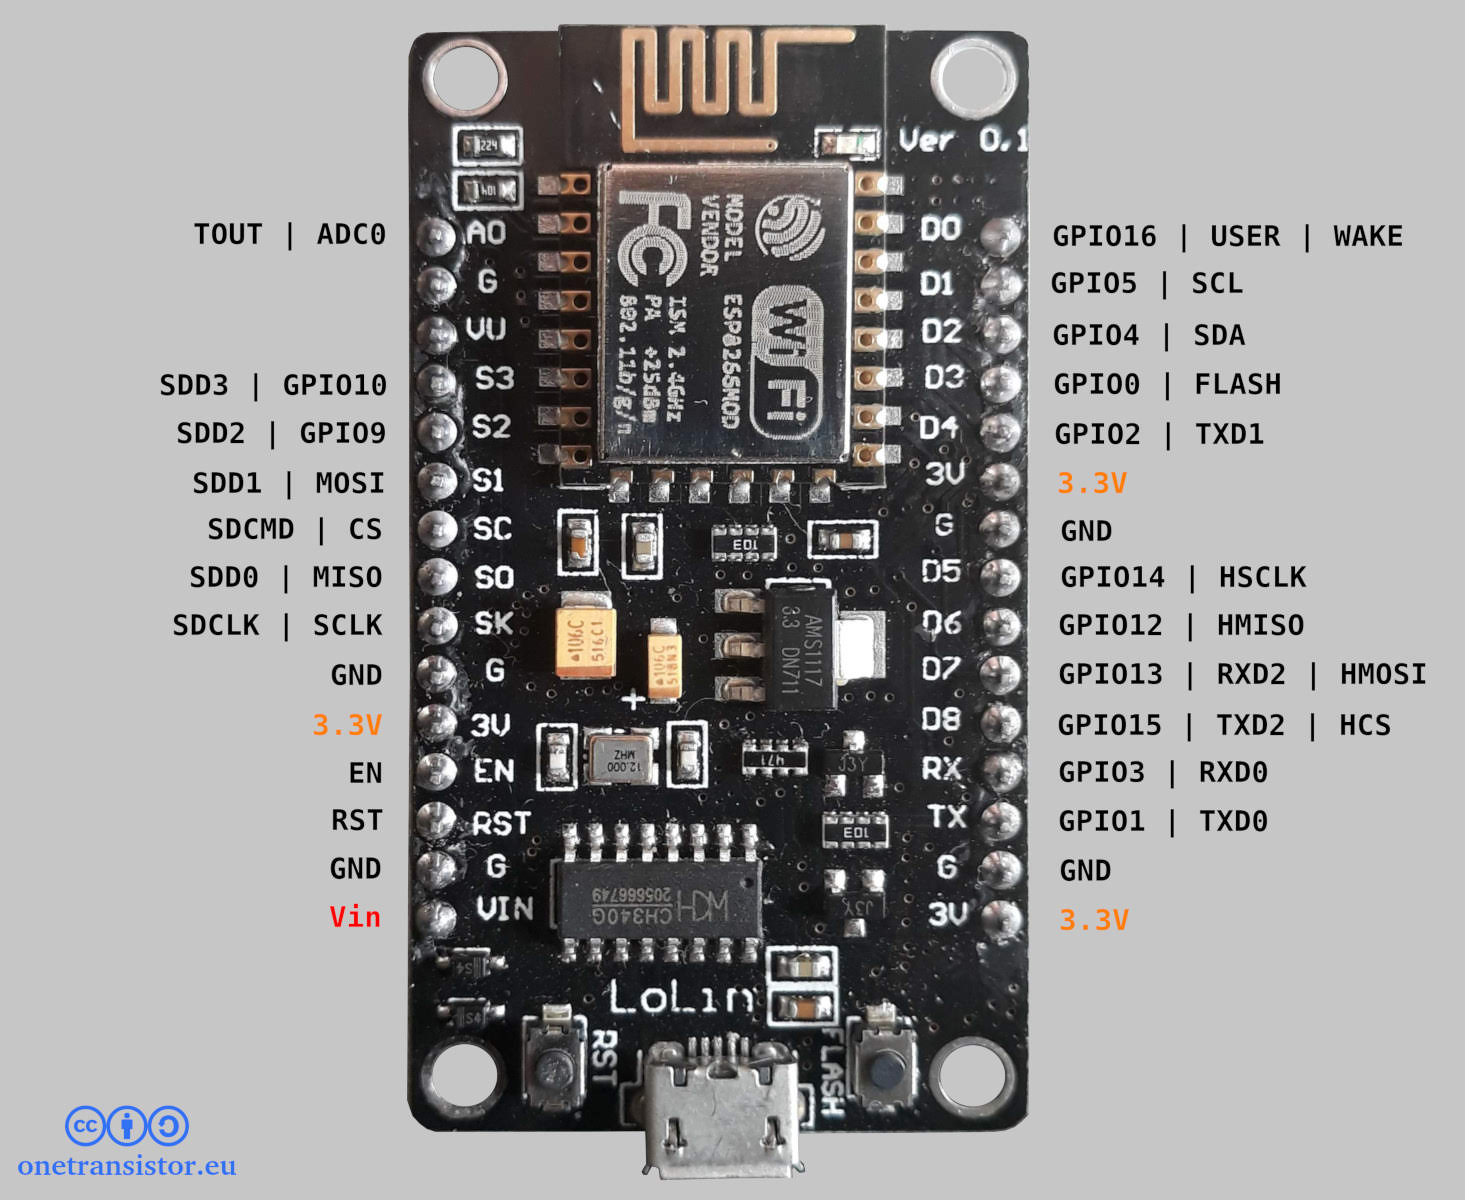
// Initialize servo (D1/GPIO5)
myServo.attach(5);
myServo.write(0);
Blinker.begin(auth, ssid, pswd);
udp.begin(9);
// Bind app buttons
ButtonServo.attach(servo_callback);
ButtonWOL.attach(wol_callback);
}
void loop() {
Blinker.run();
}4. How to Get the MAC Address
The mac[6] in the code must match your computer’s MAC address. It’s easy to find:
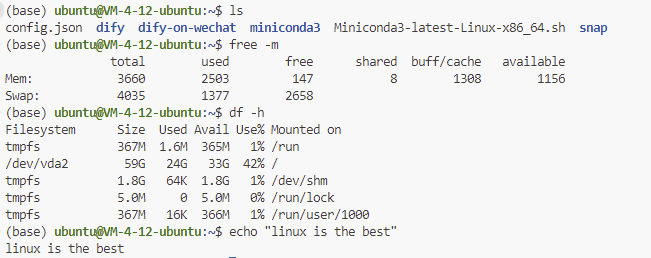
- Open CMD on the computer you want to wake up.
- Run
ipconfig /all. - Look for the Ethernet adapter, and find the Physical Address.
Note: Replace the dashes (
-) with the0xhexadecimal format used in the code.
5. Summary of This Series
In this series, we used ESP32 to implement two remote power-on solutions:
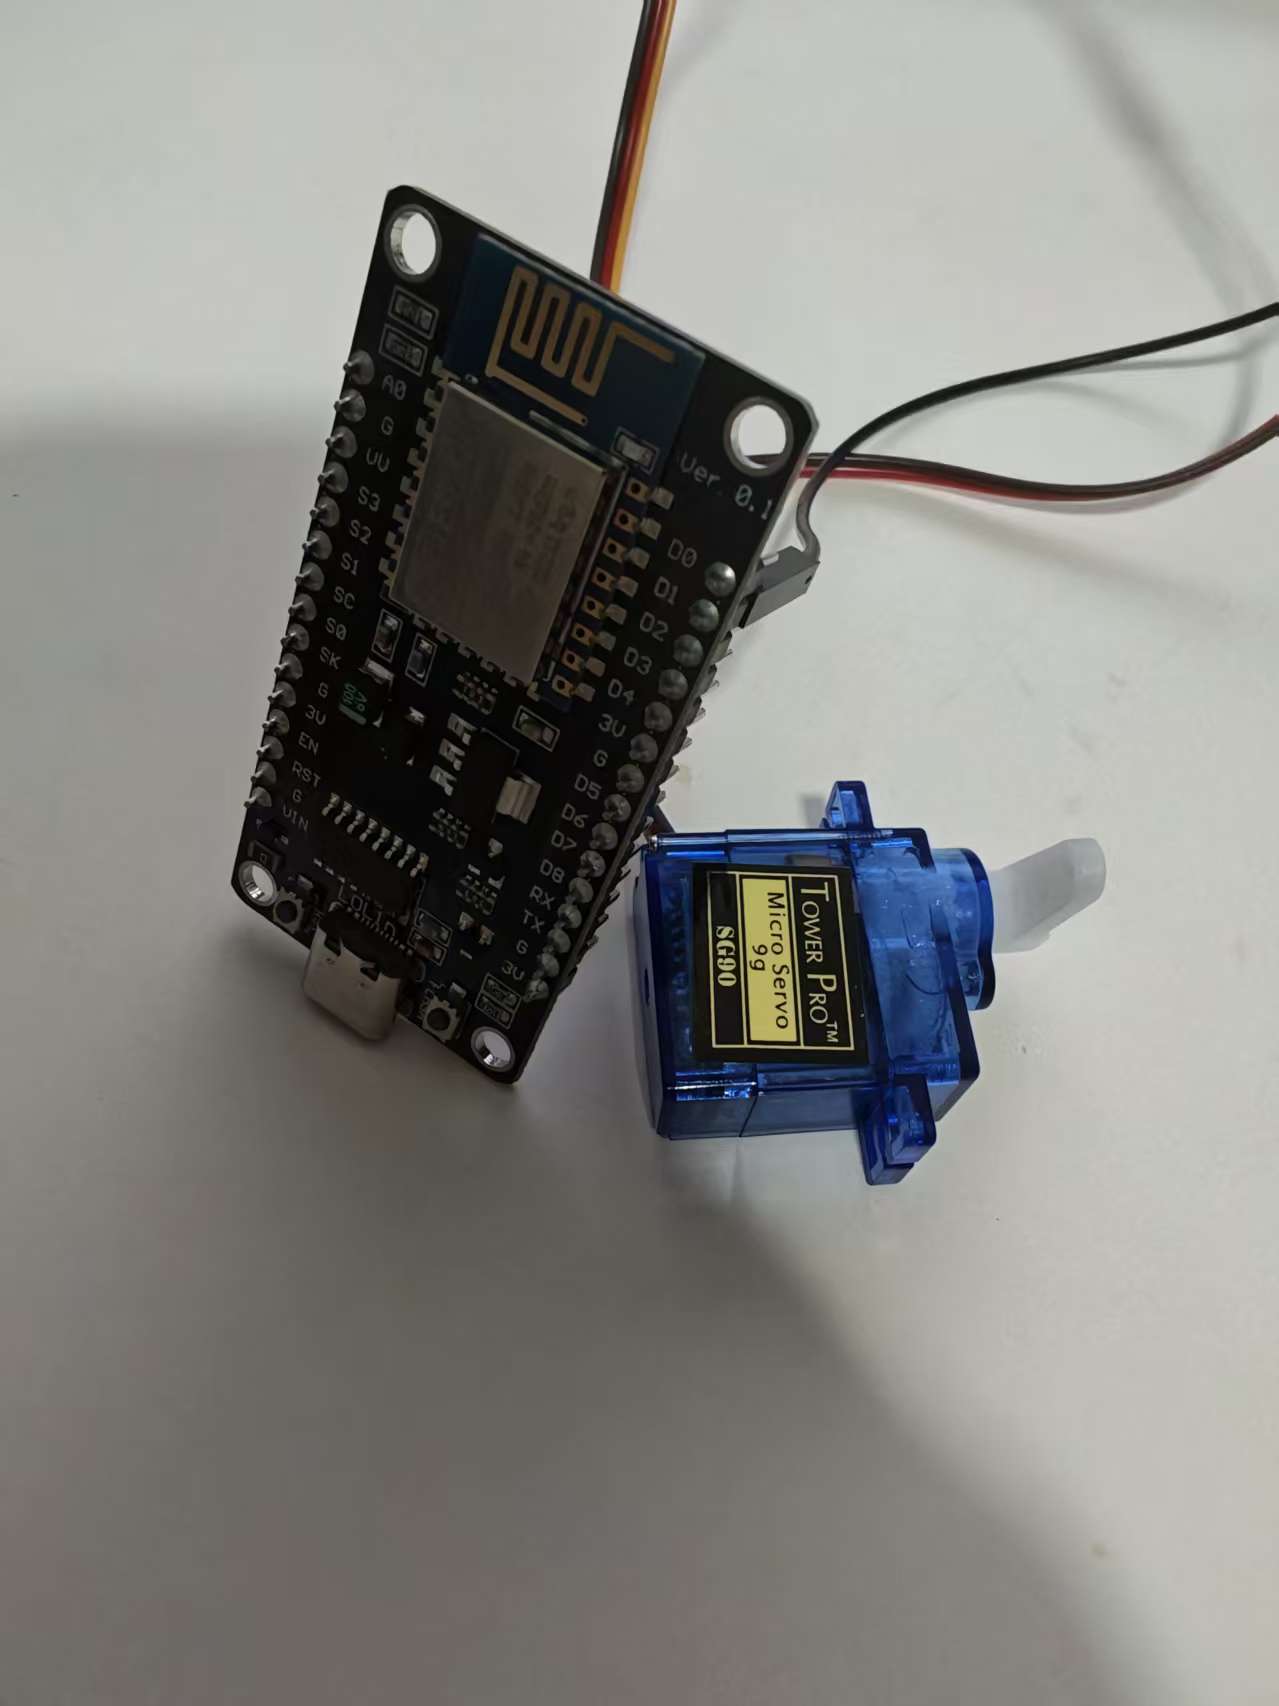
Solution 1: Finger Robot
Use a servo to simulate pressing the power button.
Solution 2: Wake on LAN
Send a magic packet over the network to wake up the computer.
Both methods have their own advantages, but they achieve the same goal:
Remotely power on your computer from anywhere in the world. 🚀